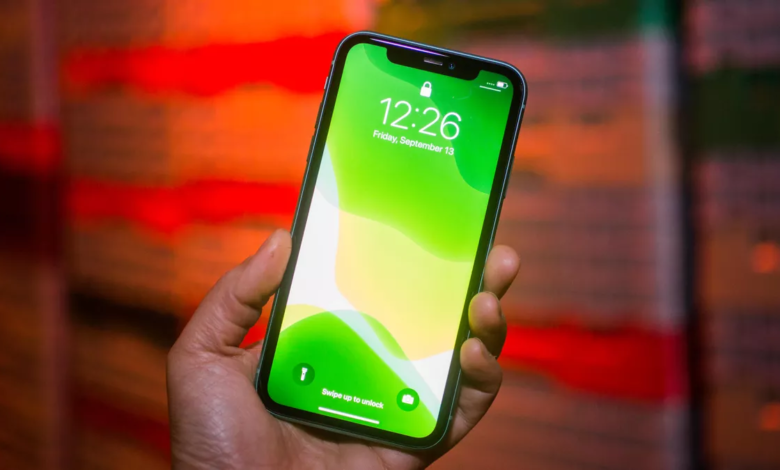
How to Take a Screenshot on an iPhone or iPad?

On a day-to-day basis, screenshots can be very useful. For example, you can “take a picture” of an error message displayed on your iPhone and ask a friend for help, or save information such as bus, train and route schedules. It can also be used to share unusual images found during your research on the net, etc.
Whatever your reason, here’s how to take a screenshot on an iPhone or iPad, then edit or share it.
Related: How to Turn Your iPhone into a Webcam on Your Mac
Take a screenshot on iPhone or iPad
There are two methods, and which one you use depends on whether or not there is a “Home” button on your device.
For earlier models with ranges X and 11, as well as the iPad 2018, simultaneously press the button ON (depending on your model at the top right of your iPhone, or on the side) and the button Home , down the screen.
Assuming you’re using a recent version of iOS, you’ll see a small thumbnail of the capture appear in the lower left corner of your screen.
You can touch it to see the editing and sharing options and drag it to the left to make it disappear.
IPhone Xs and later do not have a Home button. Therefore, to capture, simultaneously press the button On and on of buttons u volume. Then the process is the same as before: editing, sharing, saving the screenshot, etc.
Find your screenshot
Since the capture is a photo of the screen, it is automatically saved in your Photos app.
- Open the Photos app on your device.
- Tap Albums at the bottom of the screen.
- On the tab T ype s media, tap Screenshots .
Take a screenshot (silently)
You just took your first screenshot on a crowded bus, all passengers heard the sound of your capture, thinking you took their picture?
To avoid embarrassment, put your iPhone in Silent mode before taking any screenshots.
Related: How to import contacts from iPhone to iPhone?
Send your screenshot to your contacts
If you want to send your photo to your friends, follow these 4 steps:
- In the Photos app , select your image.
- Tap the Share icon (rectangle with an arrow pointing up), located at the bottom left of the screen.
- Select your sending method: sms, email, Twitter, Facebook, etc.
- Fill in the fields, then send, share or publish it, depending on the option chosen.
You can also add your capture to an SMS:
- Go to the Messages app
- First enter your contact’s name in the To field .
- Tap the Camera icon .
- Choose your shot and send your sms.
Switch from .png to .jpeg format
iOS automatically saves your screenshots in .png format , which can be confusing because photos are automatically in .jpg format .
If you need the .jpg format for your upload, or to upload your capture to a platform that only accepts this format, then you will need to convert it.
The easiest way would be to do it from your Mac:
- Connect your iPhone or iPad to your Mac.
- The Preview application opens automatically.
- Select your capture.
- Drag and drop it onto your Mac’s desktop or click Import.
The Preview of your capture opens.
- Click on File, then on Export.
- In the Format section , select .jpg from the drop-down list.
- Finally, click on Save .
Take a screenshot when one of the buttons does not work
If the On / Off button or the Home button does not work, be aware that it is still possible to take a capture of your screen.
For this you must use the AssistiveTouch. This virtual, tactile button replaces the physical buttons on your iPhone.
Related: Top 5 Must-Have iOS Utility Apps for iPhone and iPad
iPhone X and later
- Go to Settings → Accessibility.
- Further down the list, select the Accessibility Shortcut feature.
- Tap on AssistiveTouch.
- To access this shortcut, you will only have to click three times on the side button of your iOS.
iPhone 8 and earlier
- Go to Settings – General – Accessibility.
- Further down the list, select the AssistiveTouch feature.
- Activate it.
A white virtual button on a black background now appears on your screen, it allows you to use the functions of your iPhone.
To take your screenshot with the AssistiveTouch, tap Screenshot.


2 Comments